一 、前情提要
我们之前弄了一个最最最简单的卡片,就像/下面这样:
思源笔记折腾记录 - 做一个白板 - 最最最基础的卡片显示 - 链滴 (ld246.com)
现在它还只能显示一张卡片,现在来让它能够显示更多卡片。
二、实现过程
1、拆分组件
我们之前实现的卡片组件是长这个样子:
<template>
    <div class="container" @click="卡片被激活 = false">
        <div ref="卡片框架元素" class="card_frame" @click="e => { e.stopPropagation(); 卡片被激活 = true }">
            <div class="card_body">
                <div class="card_content" v-bind:innerHTML="卡片内容.html"></div>
            </div>
        </div>
        <Moveable className="moveable" v-if="卡片被激活" :target="卡片框架元素" :draggable="true" :scalable="true"
            :resizable="true" :rotatable="true" :keepRatio="false" @drag="onDrag" @scale="onScale" @rotate="onRotate"
            @resize="onResize">
        </Moveable>
    </div>
</template>
<script setup>
import Moveable from "vue3-moveable";
import { reactive, ref, onMounted } from 'vue'
const 卡片框架元素 = ref(null)
const 卡片被激活 = ref(false)

const 卡片尺寸 = reactive({
    边框宽度: 1,
    内边距: 15,
    宽度: 300,
    高度: 400,
})
let 卡片内容 = ref({})
fetch('/api/export/preview', {
    method: 'POST',
    body: JSON.stringify(
        {
            id: '20221204091100-tf8z0um'
        }
    )
}).then(
    data => {
        return data.json()
    }
).then(
    json => {
        if (json.data) {
            卡片内容.value = json.data
            console.log(卡片内容)
        }
    }
)

//这里的都是事件回调
function onDrag(e) {
    卡片框架元素.value.style.transform = e.transform;
}
function onScale(e) {
    卡片框架元素.value.style.transform = e.drag.transform;
}
function onRotate(e) {
    卡片框架元素.value.style.transform = e.drag.transform;
}
function onResize(e) {
    卡片框架元素.value.style.width = `${e.width}px`;
    卡片框架元素.value.style.height = `${e.height}px`;
    卡片框架元素.value.style.transform = e.drag.transform;
}
</script>
<style scoped>
.container {
    width: 100%;
    height: 100%
}

.card_frame {
    font-size: large;
    box-sizing: border-box;
    width: v-bind('卡片尺寸.高度+"px"');
    height: v-bind('卡片尺寸.高度+"px"');
    margin: 0%;
    padding: 5px;
    transform: translate(603px, 270px);

}

.card_body {
    border:v-bind('`${卡片尺寸.边框宽度}px solid grey`');
    border-radius: 15px;
    width:v-bind('`calc(100% - ${2*(卡片尺寸.边框宽度+卡片尺寸.内边距)}px)`');
    height:v-bind('`calc(100% - ${2*(卡片尺寸.边框宽度+卡片尺寸.内边距)}px)`');
    padding:v-bind('`${卡片尺寸.内边距}px`');
    background-color: white;
}

.card_content {
    max-height: 100%;
    max-width: 100%;
    overflow-y: scroll;
    overflow-x: hidden;

}

::-webkit-scrollbar {
    width: 10px;
    height: 10px;
}

::-webkit-scrollbar-corner {
    background-color: rgba(0, 0, 0, 0);
}

::-webkit-scrollbar-thumb {
    box-sizing: content-box;
    border: 4px solid rgba(0, 0, 0, 0);
    border-radius: 5px;
    box-shadow: inset 0 0 5px 5px gray;
}
</style>
这里我们需要让它能够显示更多的内容,因此需要拆出一个组件来,这里要拆的就是卡片的部分。
whiteBoard\src\DragableCard.vue
<template>
        <div ref="卡片框架元素" class="card_frame" @click="e => { e.stopPropagation(); 卡片被激活 = true }">
            <div class="card_body">
                <div class="card_content" v-bind:innerHTML="卡片内容.html"></div>
            </div>
        </div>
        <Moveable className="moveable" v-if="卡片被激活" :target="卡片框架元素" :draggable="true" :scalable="true"
            :resizable="true" :rotatable="true" :keepRatio="false" @drag="onDrag" @scale="onScale" @rotate="onRotate"
            @resize="onResize">
        </Moveable>
</template>
<script setup>
import Moveable from 'vue3-moveable';
import { defineProps } from 'vue';
import { reactive, ref, onMounted } from 'vue'
//这里来获取数据
let {思源块id} = defineProps(['思源块id'])
console.log(思源块id)
let 卡片内容 = ref({})
let 获取卡片内容= ()=>fetch('/api/export/preview', {
    method: 'POST',
    body: JSON.stringify(
        {
            id:思源块id
        }
    )
}).then(
    data => {
        return data.json()
    }
).then(
    json => {
        if (json.data) {
            卡片内容.value = json.data
        }
    }
)
onMounted(()=>{获取卡片内容()})
//这里定义了卡片的外观属性
const 卡片框架元素 = ref(null)
const 卡片被激活 = ref(false)
const 卡片尺寸 = reactive({
    边框宽度: 1,
    内边距: 15,
    宽度: 300,
    高度: 400,
})

//这里的都是事件回调
function onDrag(e) {
    卡片框架元素.value.style.transform = e.transform;
}
function onScale(e) {
    卡片框架元素.value.style.transform = e.drag.transform;
}
function onRotate(e) {
    卡片框架元素.value.style.transform = e.drag.transform;
}
function onResize(e) {
    卡片框架元素.value.style.width = `${e.width}px`;
    卡片框架元素.value.style.height = `${e.height}px`;
    卡片框架元素.value.style.transform = e.drag.transform;
}

</script>
<style scoped>
.card_frame {
    font-size: large;
    box-sizing: border-box;
    width: v-bind('卡片尺寸.高度+"px"');
    height: v-bind('卡片尺寸.高度+"px"');
    margin: 0%;
    padding: 5px;
    transform: translate(603px, 270px);
}
.card_body {
    border:v-bind('`${卡片尺寸.边框宽度}px solid grey`');
    border-radius: 15px;
    width:v-bind('`calc(100% - ${2*(卡片尺寸.边框宽度+卡片尺寸.内边距)}px)`');
    height:v-bind('`calc(100% - ${2*(卡片尺寸.边框宽度+卡片尺寸.内边距)}px)`');
    padding:v-bind('`${卡片尺寸.内边距}px`');
    background-color: white;
}

.card_content {
    max-height: 100%;
    max-width: 100%;
    overflow-y: scroll;
    overflow-x: hidden;

}


</style>
然后在 app.vue 中引入它
<template>
    <div class="container" >
        <DragableCard :思源块id="'20221204180515-sadlztc'"></DragableCard>
    </div>
</template>
<script setup>
import DragableCard from './DragableCard.vue';

</script>
<style scoped>
.container {
    width: 100%;
    height: 100%
}
::-webkit-scrollbar {
    width: 10px;
    height: 10px;
}
::-webkit-scrollbar-corner {
    background-color: rgba(0, 0, 0, 0);
}

::-webkit-scrollbar-thumb {
    box-sizing: content-box;
    border: 4px solid rgba(0, 0, 0, 0);
    border-radius: 5px;
    box-shadow: inset 0 0 5px 5px gray;
}
</style>
这里说一个地方,如果你引入组件的时候,本来的组件文件名是
DragableCard.vue,但是打成了dragableCard.vue,你会很神奇地发现就算名字打错了它还是可以工作,但是当你修改
DragableCard.vue的时候,并不会触发hmr(热更新),而且还不会报错~~~~~所以如果出现了这种情况可以去检查一下是不是哪里大小写写错了。
别问我是怎么知道,又是怎么解决的。。。。。。。
你问我为什么不干脆把蛋疼进行到底,组件文件也用中文命名算了?
抱歉
template里的标签不能用中文的,到时候组件和文件很难对上号,要不然你以为我不会这么干么。。。。。
这么改完之后,组件还是正常工作的,代表我们的拆分已经成功了。
现在来获取更多的数据,因为页面开始加载的时候很难获知我们到底是要加载哪一个画板,所以干脆从浏览器的地址里面获取 id 算了。
现在把浏览器里的地址改成 127.0.0.1:6809?id=aaaa
然后在控制台输入:
new URL(window.location.href).searchParams.forEach(
	(value,key)=>{console.log(value,key)}
)
这样就能看到:

所以我们可以这样来获取所有的参数
function 获取地址参数(){
	let 中间变量 = {}
	new URL(window.location.href).searchParams.forEach(
		(value,key)=>{中间变量[key]=value}
	)
	return 中间变量
}
URL.searchParams 和 URLSearchParams 可以参考这里:
URL.searchParams - Web API 接口参考 | MDN (mozilla.org)
反正这样就获取到地址栏的参数了,然后我们随便试一下,比如按照 id 把所有子块渲染到画板上。
whiteBoard\src\components\DragableCard.vue
<template>
        <div ref="卡片框架元素" class="card_frame" @click="e=>{emits('click',e)}">
            <div class="card_body">
                <div class="card_content" v-bind:innerHTML="卡片内容.html"></div>
            </div>
        </div>
        <Moveable className="moveable" v-if="激活" :target="卡片框架元素" :draggable="true" :scalable="true"
            :resizable="true" :rotatable="true" :keepRatio="false" @drag="onDrag" @scale="onScale" @rotate="onRotate"
            @resize="onResize">
        </Moveable>
</template>
<script setup>
import Moveable from 'vue3-moveable';
import { defineProps } from 'vue';
import { reactive, ref, onMounted } from 'vue'
let emits =defineEmits(['click'])
//这里来获取数据
let {思源块id,激活} = defineProps(['思源块id','激活'])
console.log(思源块id)
let 卡片内容 = ref({})
let 获取卡片内容= ()=>fetch('/api/export/preview', {
    method: 'POST',
    body: JSON.stringify(
        {
            id:思源块id
        }
    )
}).then(
    data => {
        return data.json()
    }
).then(
    json => {
        if (json.data) {
            卡片内容.value = json.data
        }
    }
)
onMounted(()=>{获取卡片内容()})
//这里定义了卡片的外观属性
const 卡片框架元素 = ref(null)
const 卡片被激活 = ref(false)
const 卡片尺寸 = reactive({
    边框宽度: 1,
    内边距: 15,
    宽度: 300,
    高度: 400,
})

//这里的都是事件回调
function onDrag(e) {
    卡片框架元素.value.style.transform = e.transform;
}
function onScale(e) {
    卡片框架元素.value.style.transform = e.drag.transform;
}
function onRotate(e) {
    卡片框架元素.value.style.transform = e.drag.transform;
}
function onResize(e) {
    卡片框架元素.value.style.width = `${e.width}px`;
    卡片框架元素.value.style.height = `${e.height}px`;
    卡片框架元素.value.style.transform = e.drag.transform;
}

</script>
<style scoped>
.card_frame {
    font-size: large;
    box-sizing: border-box;
    width: v-bind('卡片尺寸.高度+"px"');
    height: v-bind('卡片尺寸.高度+"px"');
    margin: 0%;
    padding: 5px;
    transform: translate(603px, 270px);
}
.card_body {
    border:v-bind('`${卡片尺寸.边框宽度}px solid grey`');
    border-radius: 15px;
    width:v-bind('`calc(100% - ${2*(卡片尺寸.边框宽度+卡片尺寸.内边距)}px)`');
    height:v-bind('`calc(100% - ${2*(卡片尺寸.边框宽度+卡片尺寸.内边距)}px)`');
    padding:v-bind('`${卡片尺寸.内边距}px`');
    background-color: white;
}

.card_content {
    max-height: 100%;
    max-width: 100%;
    overflow-y: scroll;
    overflow-x: hidden;

}


</style>
whiteBoard\src\app.vue
<template>
    <div class="container" @click="(当前激活卡片序号=-1)">
        <template v-for = "(块数据,i) in 子块列表">
          <DragableCard :激活="当前激活卡片序号===i" :思源块id="块数据.id" @click="e=>{e.stopPropagation();当前激活卡片序号=i}"></DragableCard>
        </template>
    </div>
</template>
<script setup>
import DragableCard from './components/DragableCard.vue';
import {ref,onMounted} from 'vue'
//这里是在控制卡片状态
let 当前激活卡片序号 = ref(null)
//这里是获取数据
function 获取地址参数(){
	let 中间变量 = {}
	new URL(window.location.href).searchParams.forEach(
		(value,key)=>{中间变量[key]=value}
	)
	return 中间变量
}
let 子块列表 = ref([])
let 获取所有子块id= ()=>{
    let 块id = 获取地址参数().id
    fetch(
        'api/query/sql',{
            method:'POST',
            body:JSON.stringify(
                {
                    stmt:`select * from blocks where path like '%${块id}%' and type='d'`
                }
            )
        }
    ).then(
        data=>{
            return data.json()
        }
    ).then(
        json=>{
            if(json.data){
                子块列表.value= json.data
            }
        }
    )
}
onMounted(()=>{获取所有子块id()})
</script>
<style scoped>
.container {
    width: 100%;
    height: 100%
}
</style>
这里使用了一个 defineEmits,因为我们的子组件里面顶层有两个标签,所以需要使用它覆盖一下原本的 click 事件。
用法是这样的(这个不用专门 import)
//定义一堆自定义事件
const emit = defineEmits(["自定义事件"])
//触发事件并把数据传出去
emit("自定义事件",数据)
然后就可以 @自定义事件 来使用了。
这么鼓捣完了之后可以试着访问一下 127.0.0.1:6809/?id=20200812220555-lj3enxa 没出问题的话你的浏览器应该会显示这样:
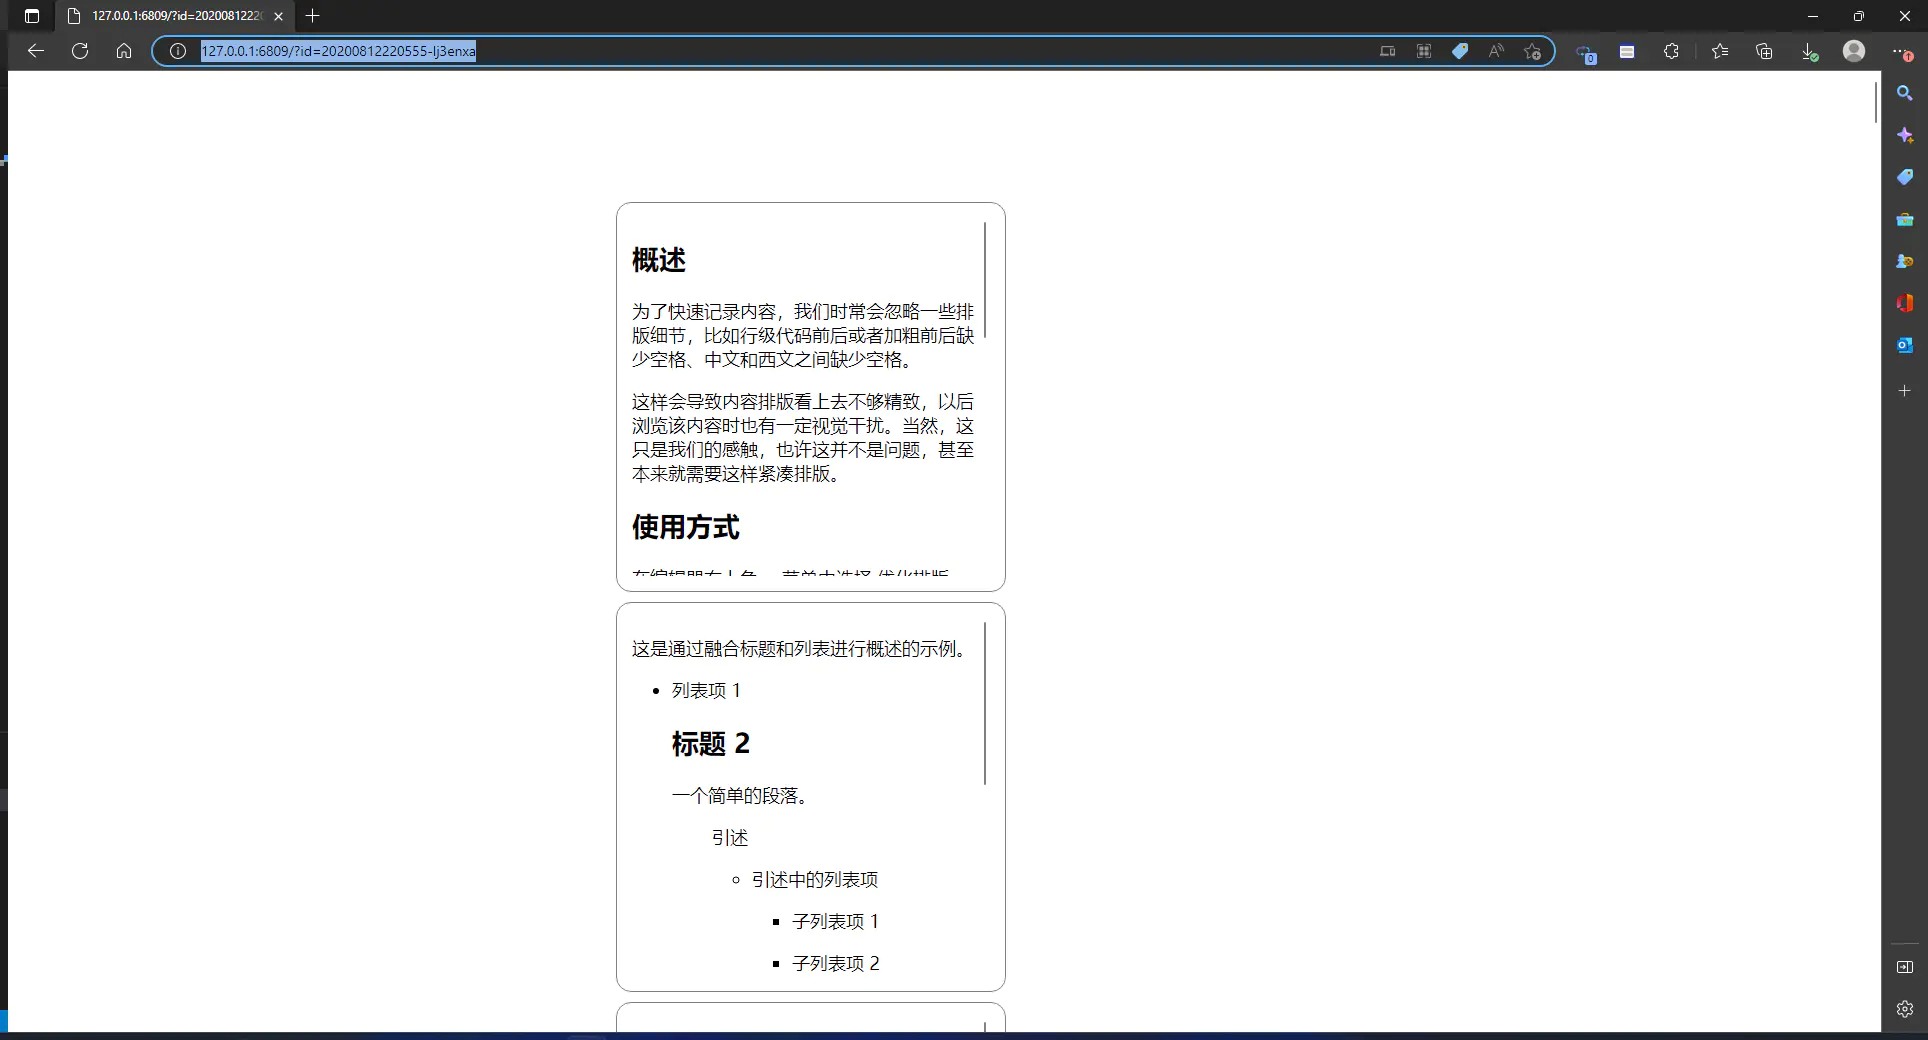
然后拖一下它们试试看吧:
代码片段的仓库在这里
leolee9086/snippets (github.com)
viteWdigets 的仓库在这里
leolee9086/viteWidgets (github.com)
欢迎来到这里!
我们正在构建一个小众社区,大家在这里相互信任,以平等 • 自由 • 奔放的价值观进行分享交流。最终,希望大家能够找到与自己志同道合的伙伴,共同成长。
注册 关于